Recipes
-
Broccoli Feta Frittata
Nance said something in a comment recently about making frittatas for dinner, and I thought, why don’t I ever do that? I sometimes make omelettes or shakshuka, but not frittatas. So I decided I would like to go to the Farmer’s Market and find some really good, fresh veggies, and have a frittata and a salad for dinner. I really liked this recipe, though Maya wasn’t thrilled with the broccoli, and I think she might prefer the tomato, basil, and mozzarella version. I think I will give that a try later in the summer when tomatoes are amazing, though really, it probably wouldn’t suck now. 5 different Frittata versions where…
-
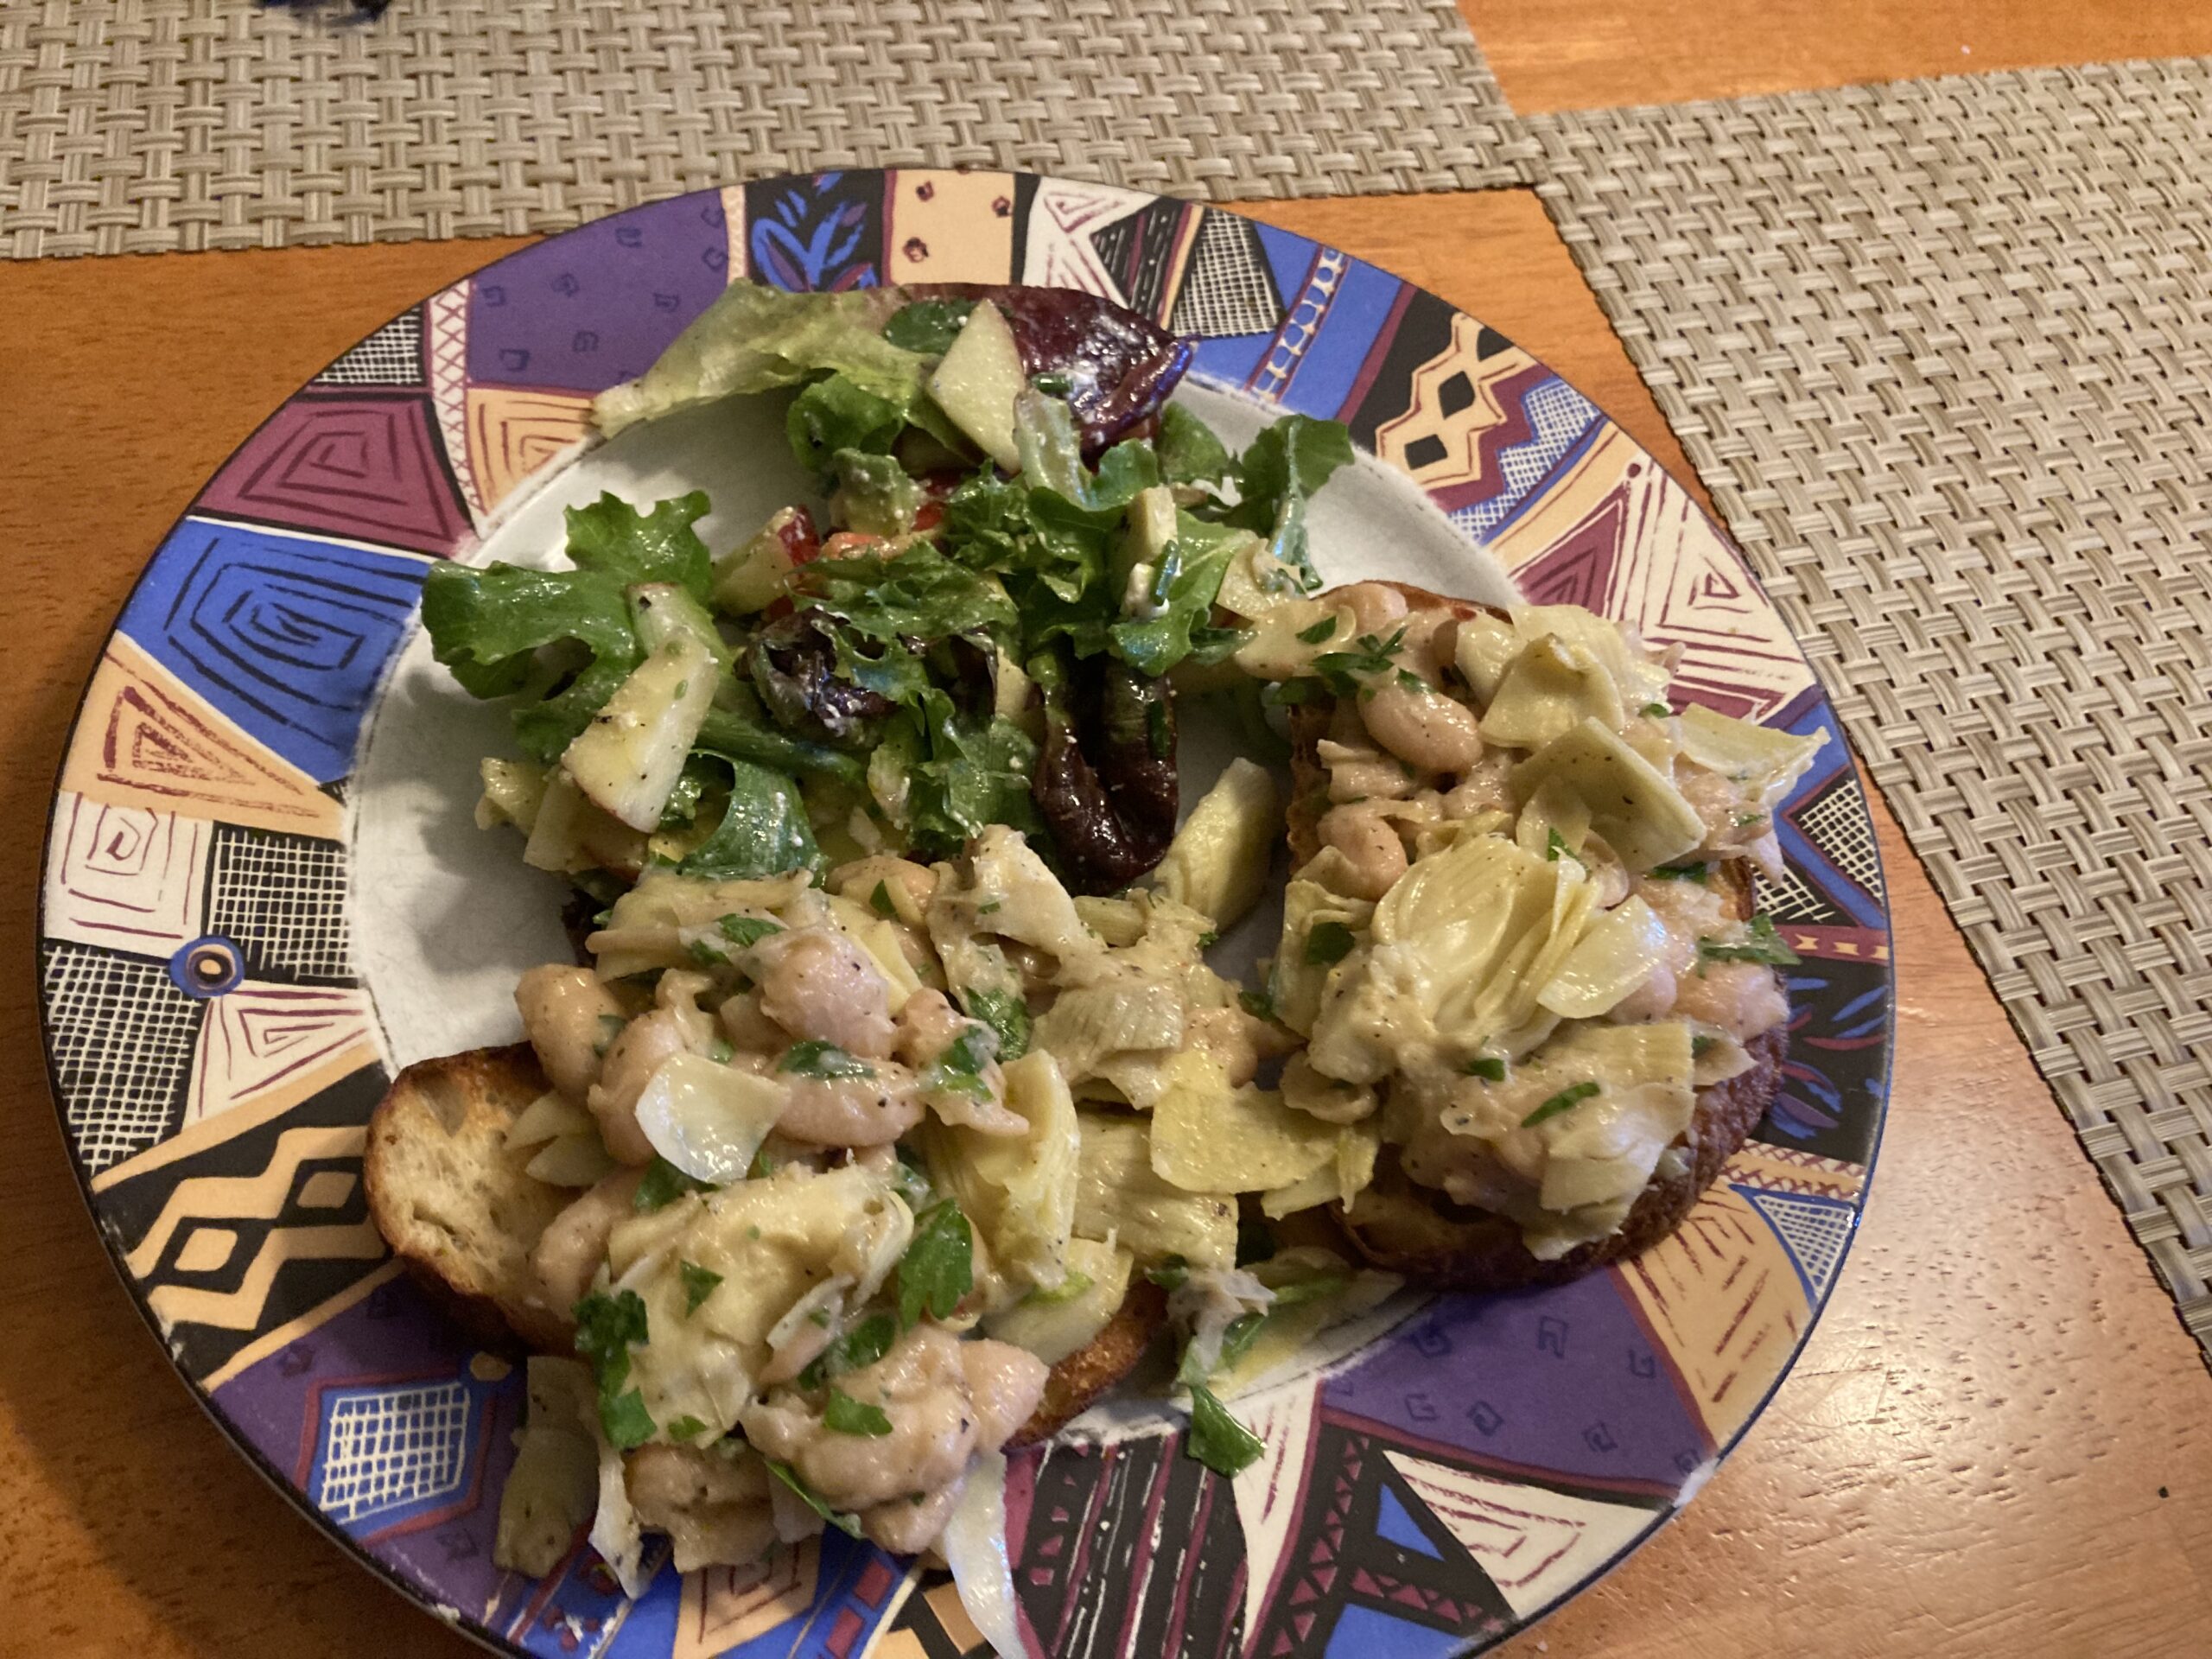
Cannellini Aglio e Olio with Artichokes
I saw this recipe on Facebook recently, and it looked delicious, filling, and healthy. I gave it a try the other night, and it was really good. I had mine on toasted sourdough, and made some chicken for Ted. Maya had too much lunch that day, wasn’t hungry for dinner, so I don’t know if she would have enjoyed it or not…she’s not a big fan of artichokes. The recipe is from Smitten Kitchen, and her picture is about 15x better than mine. The salad is one my step-mom makes a lot that we really like, with apples and avocado. It was a perfect night for a really fast dinner,…
-
Crab Cakes
More stunning food photography, I should start a food magazine. HA! Winter is crab season around here, which makes me think of crab cakes. When we get fresh crab, we eat it plain with some lemon butter, while for crab cakes we buy crab meat from the grocery store. I’ve tried them with canned, and it was OK, but not good enough to repeat that experiment. If I can’t afford crab meat from the seafood department, I’d rather make something else for dinner. (And canned crab isn’t really that much less.) The other day I decided that I wanted to make crab cakes for dinner, and looked to my blog…
-
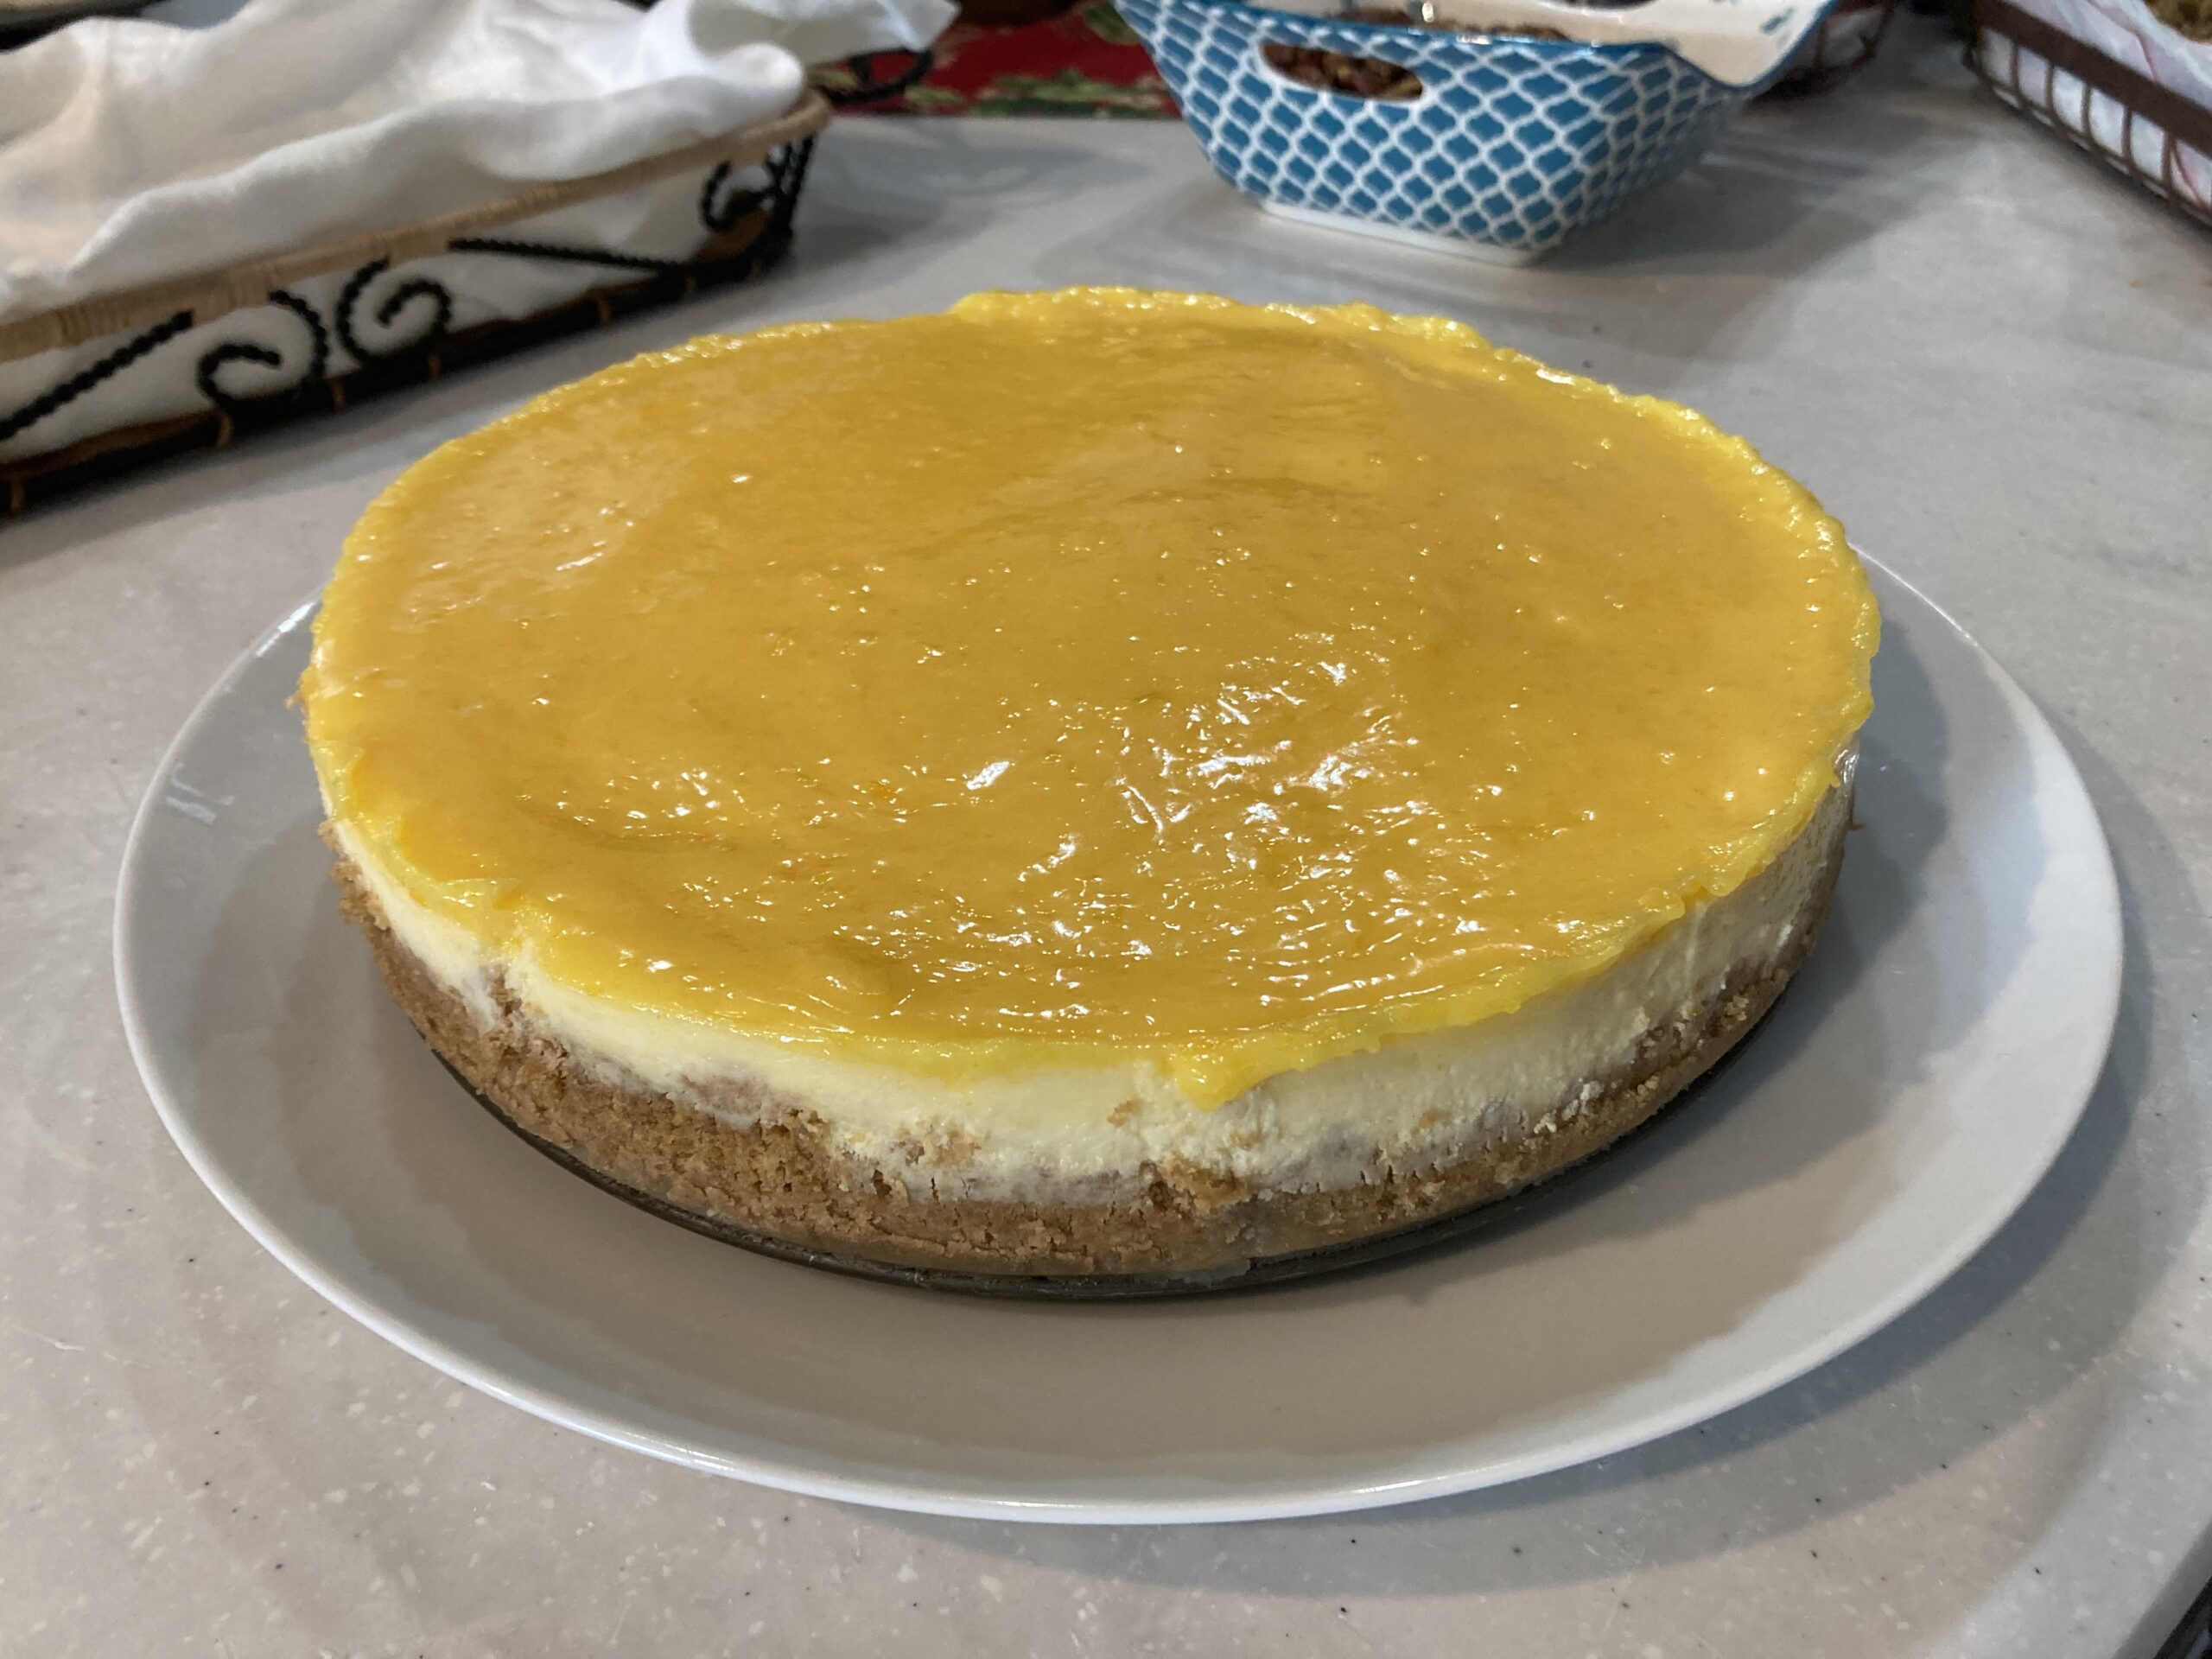
Meyer Lemon Cheesecake
When life gives you Meyer lemons just before a holiday, you don’t make lemonade, you make Meyer Lemon Cheesecake. I’ve done this before, and that time I just made cheesecake and topped it with Meyer lemon curd. Was it good? Yes. But I wondered if it might be better with lemon flavor in the actual cheesecake, and thankfully, the answer is YES. This was my main contribution to our Christmas dinner this year. I found the recipe here, and the notes say that it’s fine to substitute Meyer lemon zest/juice/curd, no alterations needed. A Meyer lemon is a mix between a traditional lemon and a clementine tangerine, so they are…
-
Goat Cheese Mashed Potatoes
A couple of weeks before Thanksgiving, this recipe popped up on my Facebook feed. I loved that it is a make ahead recipe. You make the recipe to the final step, then put it in the fridge overnight. Before dinner, assuming you have room in the oven, you pop the potatoes in the oven and bake until golden brown. Delicious, and very rich. I don’t think I would make my mashed potatoes like this for a regular dinner, but for a holiday meal? Absolutely. Recipe copied and pasted from Ina Garten, here. Goat Cheese Mashed Potatoes Ingredients Directions Preheat the oven to 375 degrees F. Place the potatoes, garlic, and…
-
San’s Winter Soup
San posted a recipe the other day for a thick and creamy winter vegetable stew, and I immediately changed my menu plans for the week to include it. She found the recipe here, and simplified it and said we should all make it our own, so I looked at the original, looked at hers, and made a few changes. The original is a crock pot/slow cooker meal, and San has adapted it for the stovetop. I am a stove top girl, I don’t have a crock pot, so I appreciated her changes. This is a tasty stew/soup, and San’s pictures are a lot nicer than mine. My changes from San’s…
-
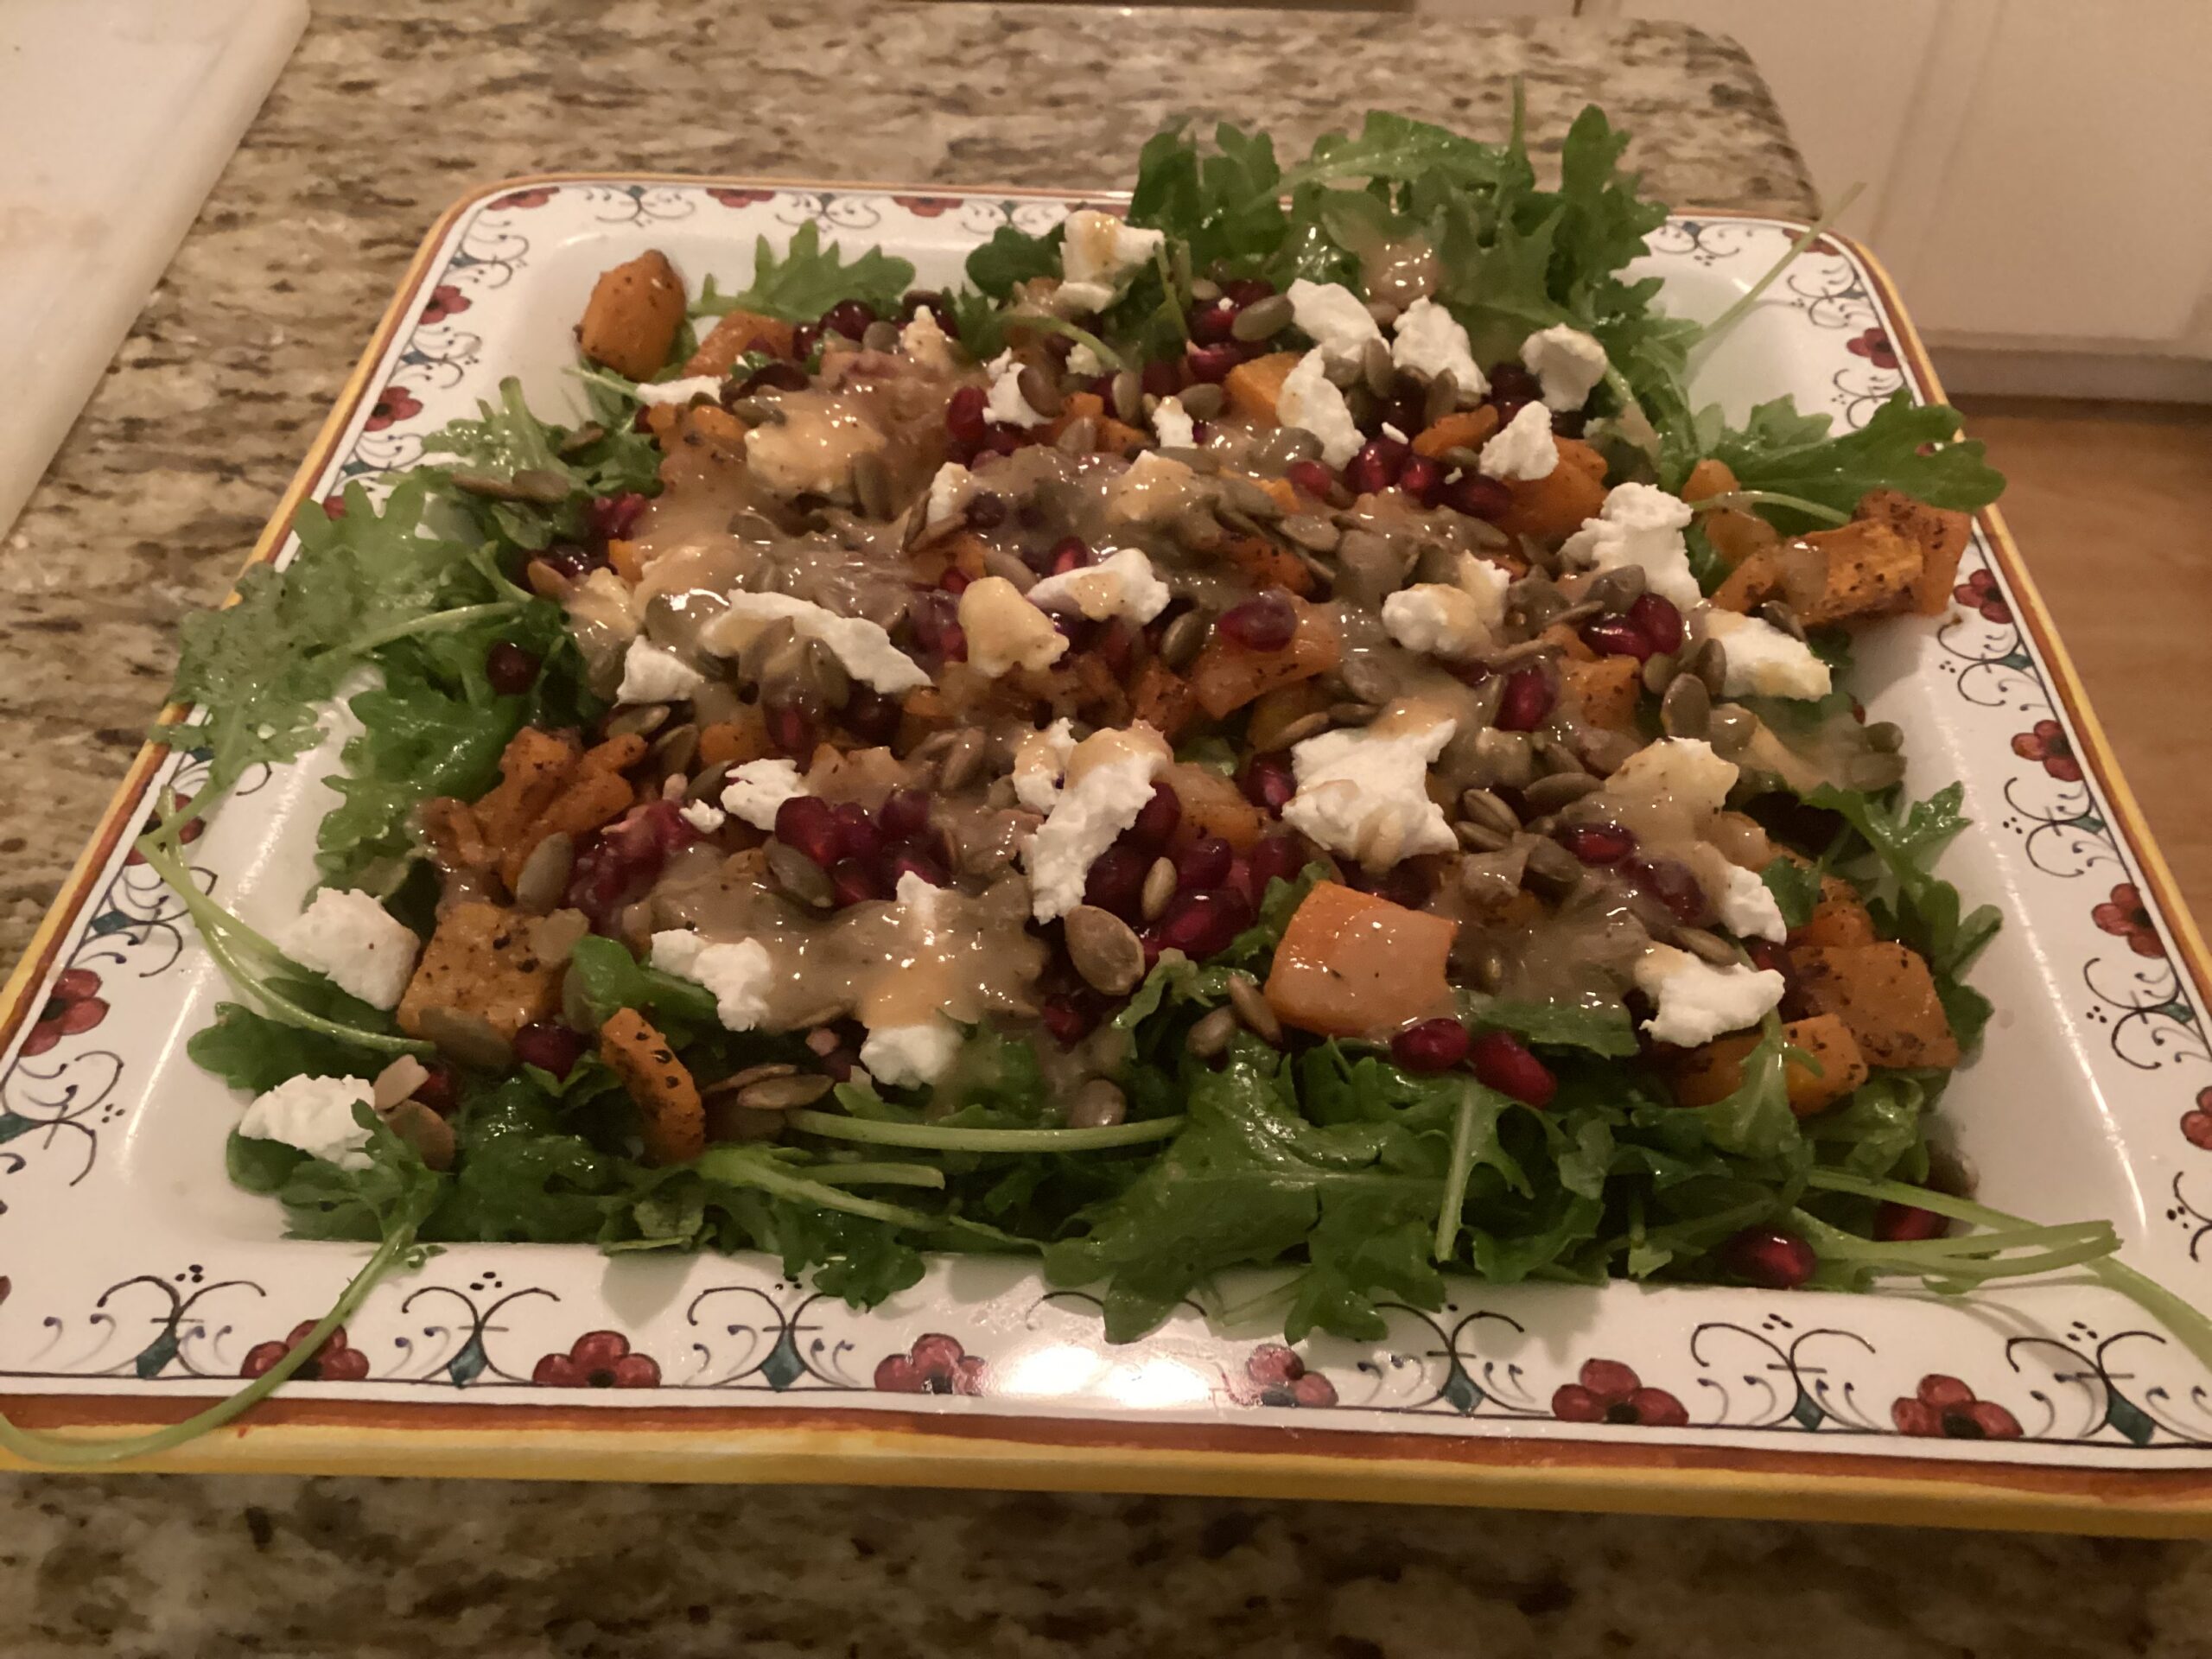
Fall Bliss Salad
I saw this recipe on Facebook the other day, and thought it might be a good use for some pomegranates that I might swipe from neighbors’ trees on my morning walk. Imagine my surprise when I discovered that they had harvested their trees and there was nothing for me to swipe! Oh well, I went ahead and bought one, along with some already cubed butternut squash, and I went for it. Mistakes were made. For one, I overdressed my salad. The dressing is brown and kind of thick, so my picture isn’t nearly as pretty as the original. Second, I think I cut my squash a tiny bit too thick,…
-
Jacques Pepin’s Pot Roast
Suzanne recently made a pot roast that sounded delicious, but instead of going with her recipe, I cracked open a favorite cookbook, Julia and Jacques – Cooking at Home. This was delicious, and makes a LOT. I froze enough for at least 2 more meals, and we still had plenty in the fridge for leftovers. The internet tells me that I should not have frozen the veggies, they will lose some of their texture, but I couldn’t be bothered to figure out the math on that one. This is a delicious recipe perfect for a rainy day. Pot Roast Ingredients Instructions Preheat the oven to 300 F. Season the roast…
-
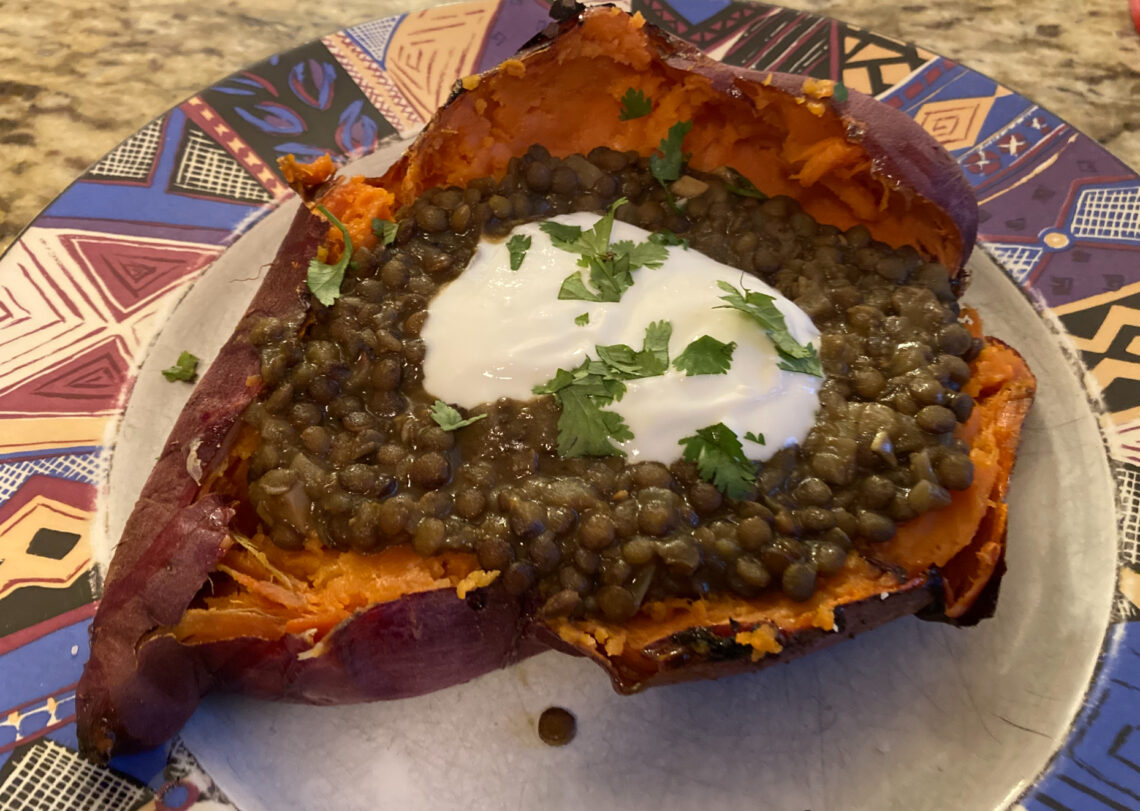
Sweet Potatoes with Curried Lentils
Sometimes it is really, really difficult to figure out what the heck to make for dinner. Thankfully, Suzanne searches the internet for inspiration, and then posts about her ideas for what they might eat. She recently linked to this recipe, which is originally vegan, though I used yogurt instead of coconut milk near the end. I think you could use regular milk or something else instead of coconut milk in the lentils as well, if you don’t want to buy a can and then only use 1/2 cup. I didn’t like throwing away the rest of the can but wasn’t sure I would use the rest of it. I think…
-
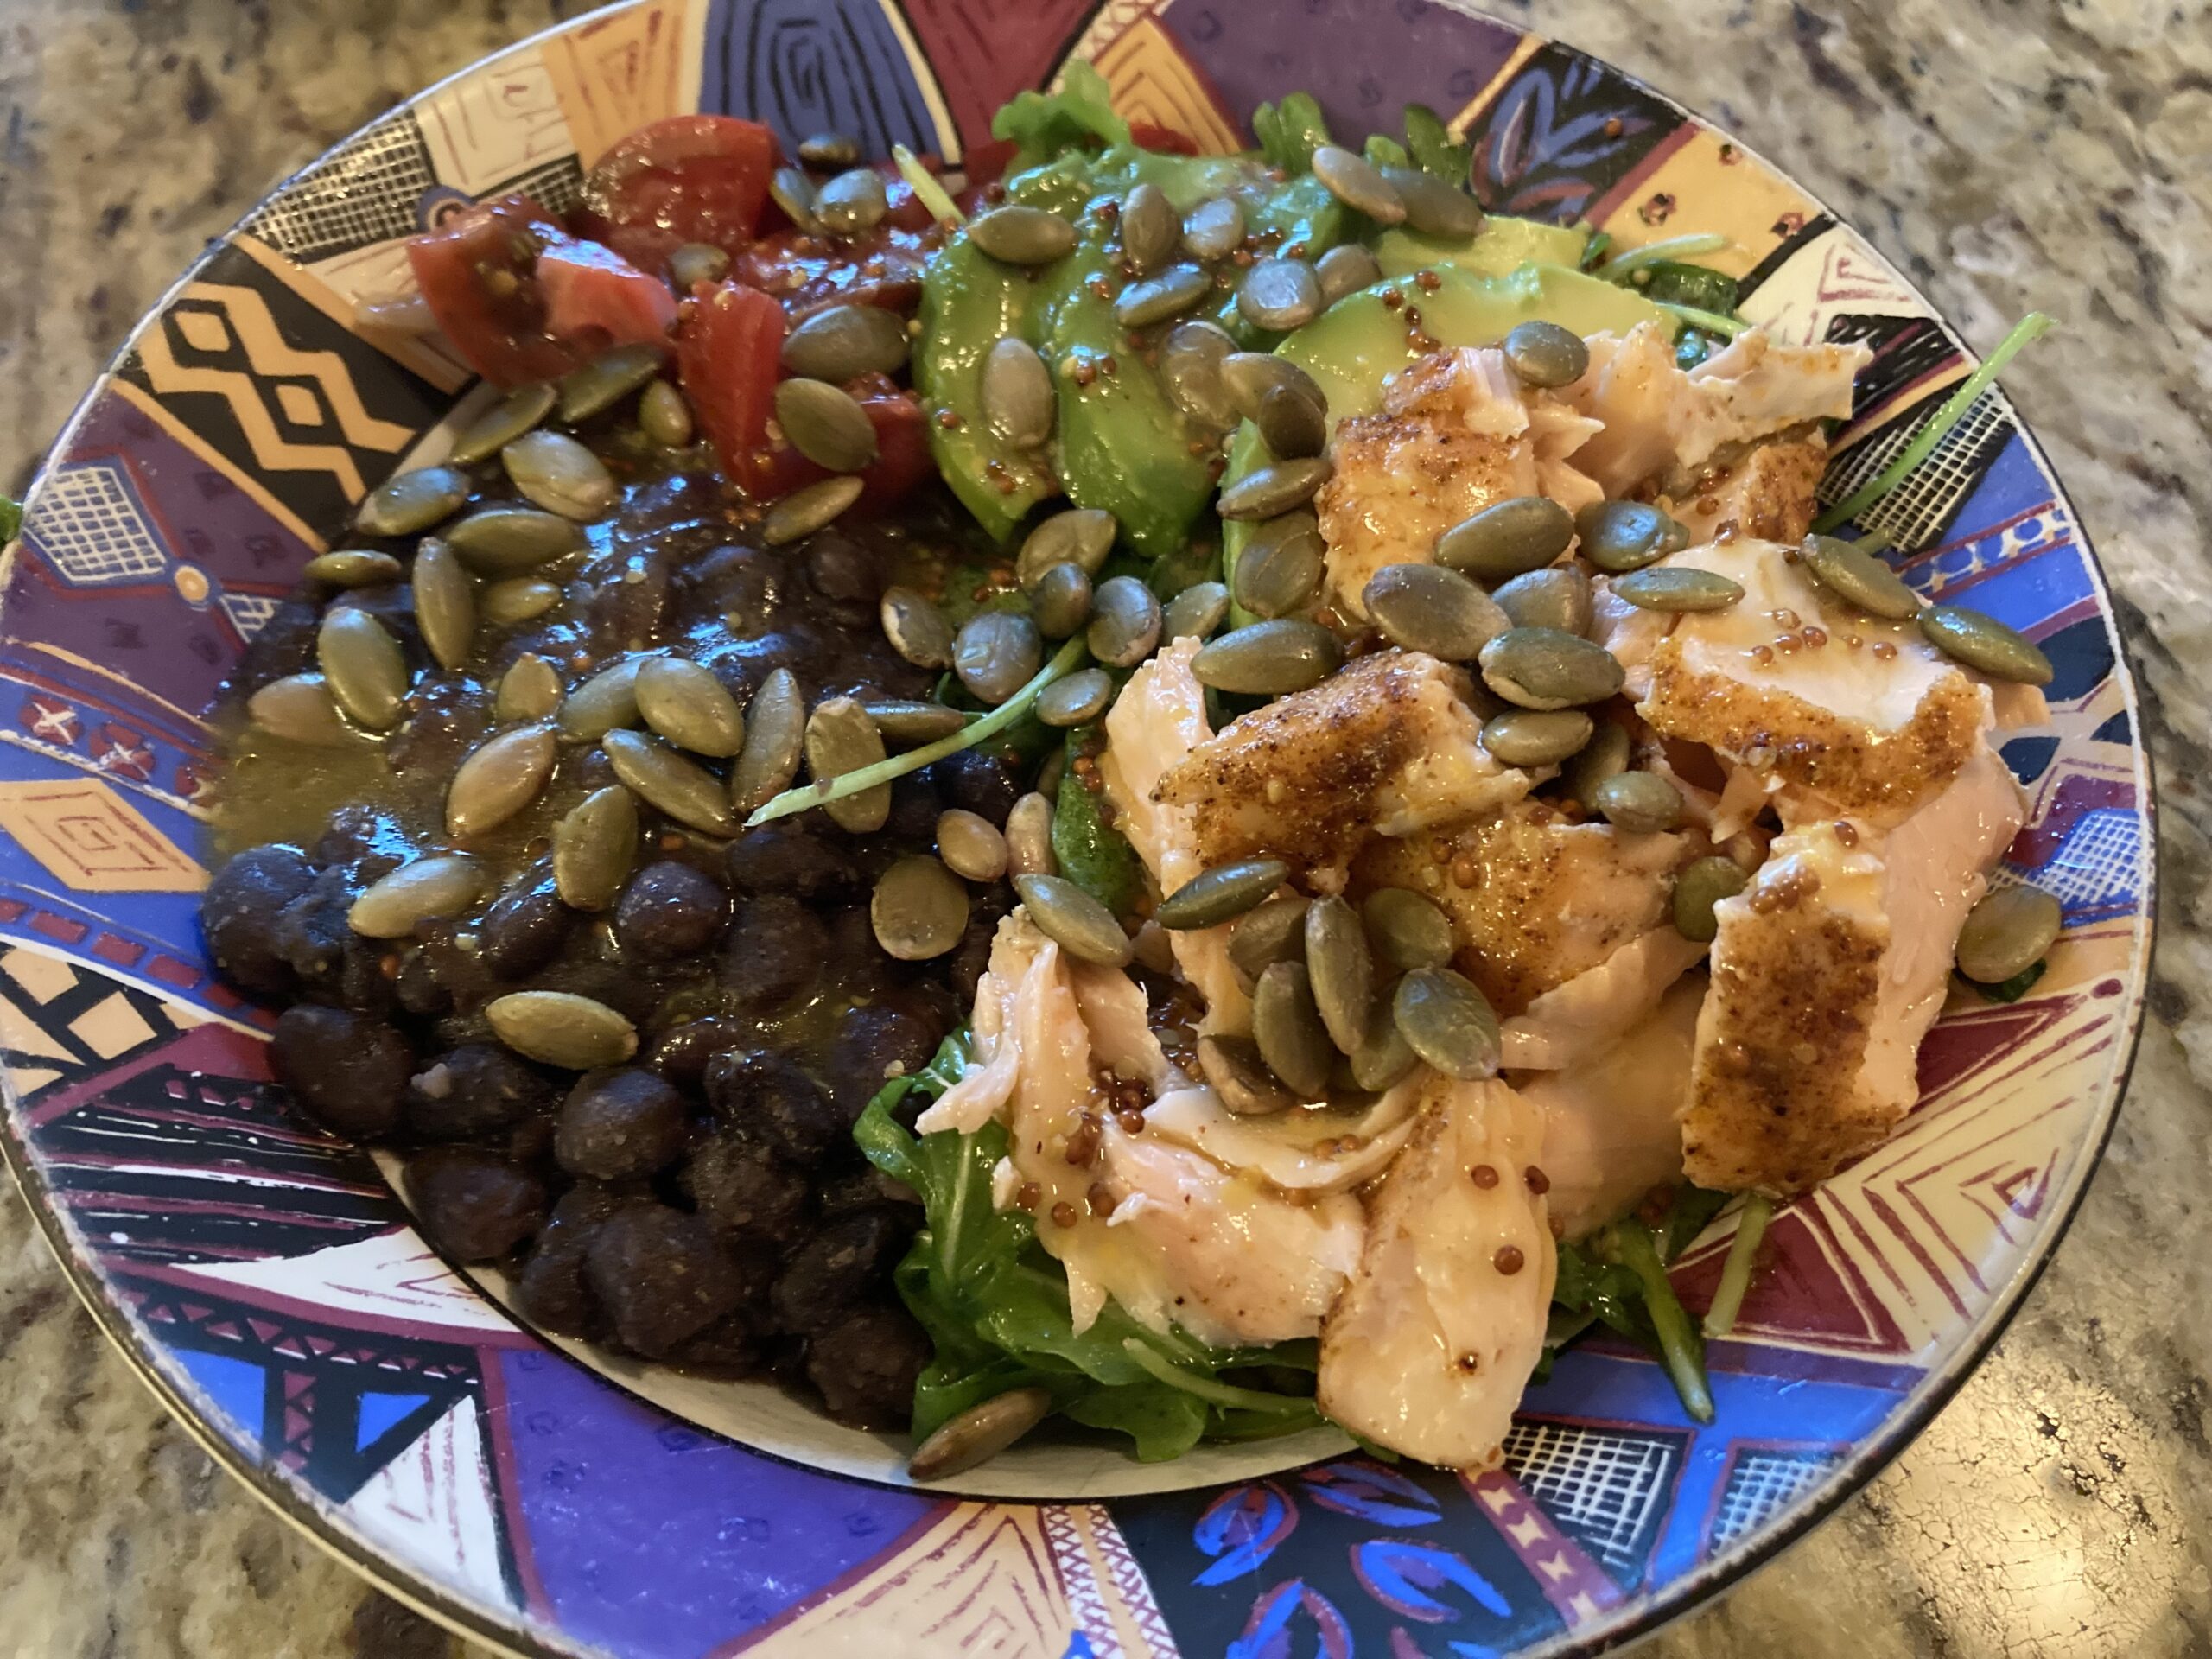
Salmon Farro Bowl with Honey Mustard Dressing
For NaBloPoMo, I may decide to do some kind of ‘getting to know you’ post soon for new readers, but this is not that post. Instead, this is a very lazy post, a recipe for a delicious meal we recently enjoyed. It seems pretty adaptable. Don’t like salmon? Sub in another fish, chicken, or even tofu. Don’t like mustard? Try a dressing you do like. Want to add tomatoes, like I did? Go for it. We really enjoyed this meal, it will be making a reappearance soon. Original recipe here. Salmon and Farro Bowl with Honey Mustard Dressing Ingredients Directions Preheat oven to 425°F. Bring water, farro, and 1 teaspoon…
-
Dinners Last Week
Suzanne often posts about her meal plan for the week, with helpful links to recipes. I am generally not that organized, but we did have some yummy food last week, and I’m here to tell you about it. Sunday, Ted made a truly delicious Salade Nicoise (link is to a recipe I posted a few years ago, and the picture looks a lot more like Ted’s), with tomatoes, lettuce, potatoes, fresh tuna, eggs, and green beans from the Farmers’ Market. I think the only things we had to buy at the grocery store were avocado and Sauvignon blanc, as we already had olives at home. I didn’t take a picture…
-
Fresh Summer Tomato Sauce
I had planned to make chicken soup for dinner the other night, but then Ted told me he had to work very late and wouldn’t be home. I decided to save the soup for the next night, and make pasta for Maya and myself. I had a few beautiful tomatoes from the farmers’ market, so I decided to make this pasta, which uses uncooked tomatoes. You combine the sauce ingredients early in the day, and let them sit on the counter until you are ready to eat, then you cook your pasta. (Observant readers may notice a phone in the pic above, with Mulder’s picture as my background. That’s my…
-
A Week of Breakfasts
Some people eat the same thing for breakfast every day. I am not one of those people. I like some variety. I don’t usually eat 7 different breakfasts in one week, but this week I did and I documented it for you. Working from home means that I have freedom in when I eat. Generally I get up, have tea and play my word games, do weights and yoga, go for a walk, sign in for my daily 8am meeting, and eat breakfast whenever I’m hungry. Saturday ~ Smoothie day. I don’t want you to think that I put any of these pills in my smoothie. I was thinking about…
-
Roasted Zucchini
Diane had a post the other day that included some delicious sounding zucchini, so I thought I would give it a try. Zucchini is not my favorite vegetable (or fruit), unless it is deep friend and dipped in ranch dressing, but when the zucchini are small and it’s not overcooked, it can be really nice. So I decided to try her recipe, which we ate with chicken (Maya had leftover pasta). Roasted Zucchini Ingredients Directions Preheat oven to 375 F. This is my default roasting veggie temp, it works for me. Slice zucchini into rounds, then toss with remaining ingredients down to oregano. Roast for 10-15 minutes until almost tender.…
-
Quinoa Bowls with Sweet Potatoes and Black Beans
After I made Nicole’s tacos last week, I had leftover sweet potatoes and guacamole. This is not a bad problem to have, so I decided to figure out how I could best use the leftovers. Also, I thought maybe I would add some protein, and quinoa sounded like a good way to do that. I cobbled together a bowl with mostly the same items from the tacos, though I added some tomatoes because it is tomato season. Putting this into a recipe form is ridiculous, but perhaps it will trigger in my brain next time I want something quick, easy, healthy, and delicious. Ted is the biggest meat eater in…